Rainwater Harvesting Project You Can Do Yourself
Are you looking for a rainwater harvesting project? If so, you’ve come to the right place! The first thing you need to do is check with your city or county and make sure it is legal to gather water at your property. My city tickets you a huge fine if you harvest rain water.
As you continue to read, you’ll find an easy to follow step-by-step guide that you can do yourself that will cover all of the rainwater harvesting project information that you need!

Nearly everything around your home, that needs water, loves the natural kindness that’s given with soft rainwater. With a simple rain barrel, you can harvest water than comes from rain to irrigate your lawn or garden, water your houseplants, or even top off swimming pools and hot tubs.
An available supply of rainwater is also a reliable source for emergencies if your primary water flow is interrupted. Pepper's love this rainwater harvesting system, so will you.
Collecting rainwater runoff in rain barrels can save thousands of gallons of tap water each year. For example, a typical 40 x 40 foot roof has the ability of harvesting 1,000 gallons of water from only 1″ of rain.
Watering your garden and lawn can use as much as 40% of your total water in the household used during Spring, Summer and the Fall seasons.
A straightforward rainwater harvesting project system that restrains harvested water for use outside only, like the project described in this article, can have a huge impact on the self-reliance of your house, assisting you saving on utility costs and lessening the power used to purify and process water for your lawn and garden.
Two Ways to Complete Your Rainwater Harvesting Project
This method is usually cheaper than buying a pre-made rainwater harvesting project, but will take a little more time to set up.
Tools & Materials Needed For Your Rainwater Harvesting Project
Pretty much any big waterproof container can be used to make a rain barrel. A trash can, for example, would be easy to get and use for this purpose. It’s best if it was plastic with a snap-on lid.

Large trash cans are usually around 32 gallons, but if you can find a 44 gallon one instead, use it instead. It will be rare to find an actual wood barrel as they are becoming more and more scare, but wineries would be a good place to look.
Whatever kind you get, make sure it hasn’t previously contained any chemical compound that could hurt plants, animals or people. Not sure? Don’t use it.
Also, choose a barrel made of opaque material that lets in as little light as possible, thus limiting the risk of algae growth.
Quick Tip: Add 1 Tbsp of veggie oil to the stored water in the barrel. This puts a coat on top of the water’s surface and deprives insect larvae of oxygen. You also want to use a filter or a screen over the barrel opening to prevent insect infestation.

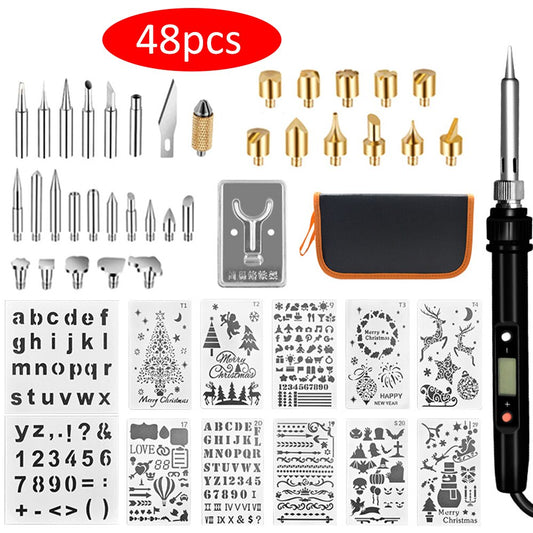
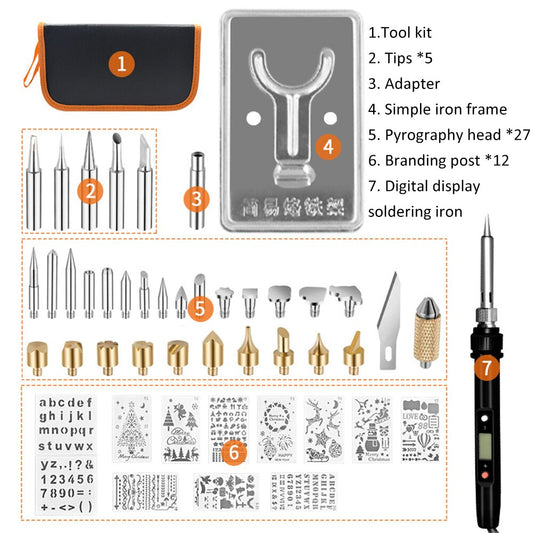
PICTURE GUIDE: TOOLS & MATERIALS
Rainwater Harvesting Model Explanation:
How to Make a Rain Barrel
Follow these 4 steps to make your own rain barrel using the tools and materials listed above:
Step 1: Cut a Large Opening in the barrel top or lid. Mark the size and shape of the opening – if using a bulk food barrel, mark a large semi-circle in the top of the barrel. If using a plastic garbage can with a lid, mark a 12″ diameter circle in the center of the lid. Drill a starter hold, and then cut our the shape with a jigsaw.

Step 2: Install the Overflow Hose. Drill a hole near the top of the barrel for the overflow fitting. Thread the barb fitting into the hole and secure it to the barrel on the inside with the retainer nut and rubber washer (if provided). Slide the overflow hose into the barbed end of the barb elbow until the end of the hose seats against the elbow flange.

Step 3: Drill the Access Hole for the spigot (either a hose bib or a sillcock, brass or PVC). Tighten the stem of the sillcock onto a threaded coupling inserted into the access hole. Inside the barrel, a rubber washer is slipped onto the coupling end and then a threaded bushing is tightened over the coupling to create a seal. Apply a strip of Teflon tape to all threaded parts before making each connection. Caulk around the spigot with clear silicone caulk.

Step 4: Screen Over the Opening in the top of the barrel. Lay a piece of fiberglass insect mesh over the top of the trash can or barrel and secure it around the rim with a cargo strap or bungee cord that can be drawn drum-tight. Snap the trash can lid over the top. Once you have installed the rain barrel, periodically remove and clean the mesh.

Once you have this system in place then all you need to do is sit back and watch it rain.
Let’s get prepared!
Presented by Coach Trina @ dragoyle.com